ADU's have gotten gorgeous on the outside... but what about the inside?
ADU’s are getting more popular by the day. These “Detached Accessory Dwelling Units” that give a second living space on a property are the new architectural gems of the day.
And I have to say I am delighted and excited to see what so many architects have cleverly come up with like this one above by Inoutside.com.au.
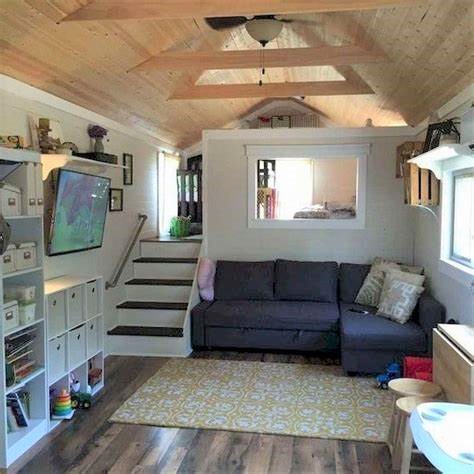
But it’s been a bit of a shock to see how many on the inside didn’t have a real connection to the beautiful architecture on the outside or the inside. The decorating too often looks like it happened more by default than design.
The same light wood on the floor and stairs as the architectural ceiling would have coordinated, lighted, and enlarged the whole space. Furniture arranged to see the TV, and a simple, covered storage wall unit that incorporated the TV would have done so much to elevate this whole space.
The moral here I think is, great architectural design can’t make up for less than great decorating. Instead, the decorating ends up taking over and making everything look less than great
But choosing all the finishes, furnishings, and color palette for a small space that makes it both fabulous and functional is, well, no small feat.
It’s a lot of decisions to get right because whatever doesn’t work has a way of getting all the attention. I know. It doesn’t seem fair, so to help out, I’ve put this together for you!
12 Top Ways to Make Your ADU a Design & Decorating Gem
Have A Plan
It’s the only way to control your finished look both when building or decorating.
Otherwise, the construction process ends up dictating your inside finishes and decorating choices. And you’ll be choosing windows, lighting, and plumbing fixtures before you’ve even found the major components for your dwellings overall look and palette.
Design-wise where you need to start is selecting the flooring, cabinetry, and major decorating. Once that is known you can move down the list to selecting the windows, lighting and plumbing fixtures.
Here are 12 ways to intentionally select your interior finishes and decor so your finished dwelling is a total gem, no matter how you look at it!
Making Your Space Look it’s Biggest & Best
DESIGN
1. Connect Adjacent Spaces with the Same Color Flooring
– Keep the flooring all the same or similar in color throughout,
(i.e. wood flooring and bathroom tile flooring should be a similar color.)
2. Use Light Neutrals Throughout
– They expand any space and create the perfect backdrop for any style decorating.
– Within a closed-off space, (i.e. bedroom) it’s OK to do a different, but related color, just keep it the same throughout the room.
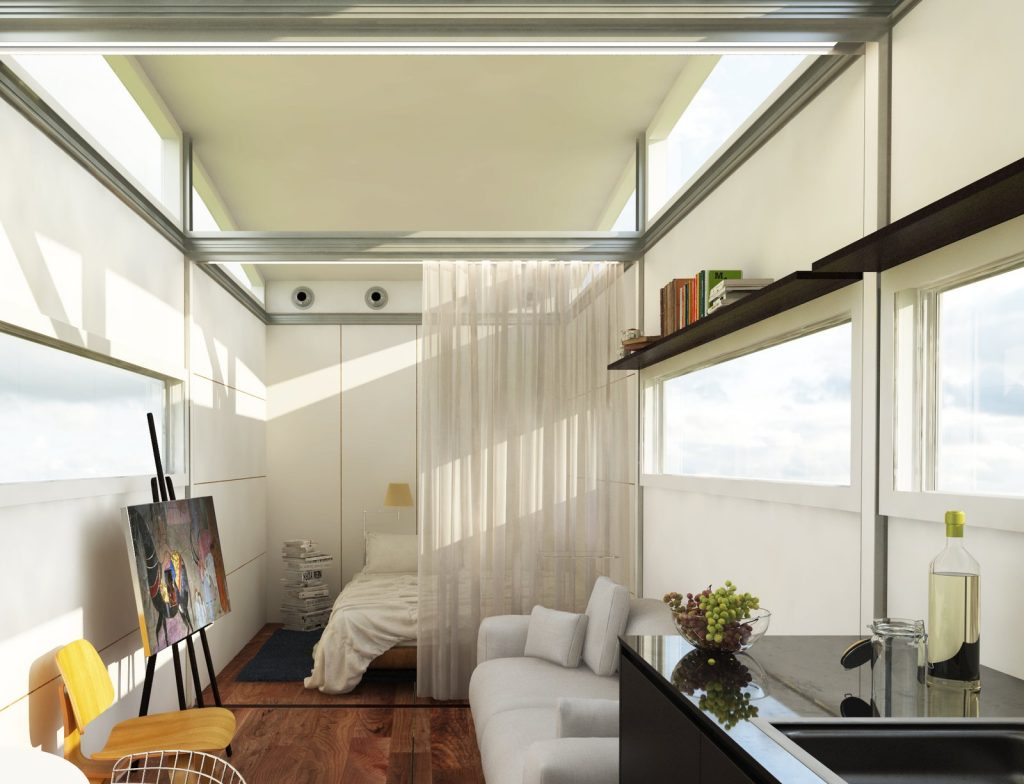
3. Large Window(s) Add Borrowed Space
– The space you see beyond the window will add to the feeling of space within.
– If you need daytime privacy, choose a sheer window covering.
4. Extra Ceiling Height
– When you can’t go out, go up! A foot or more added to the ceiling height will work wonders for the sense of space.
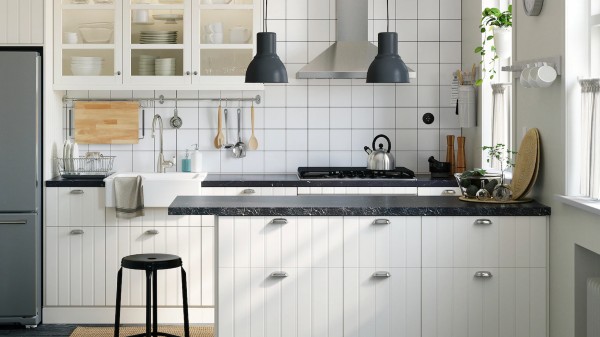
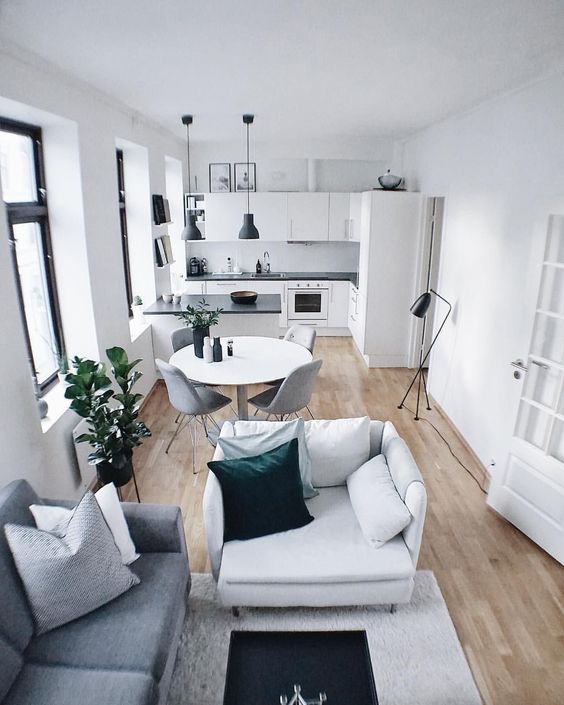
5. Keep kitchen cabinets, backsplash & walls light & accent with the countertop
– Slab style cabinet doors give the most streamlined, open look.
– Keep cabinet hardware simple, (or non-existent)
– Shelves & open spaces will make the upper half more spacious
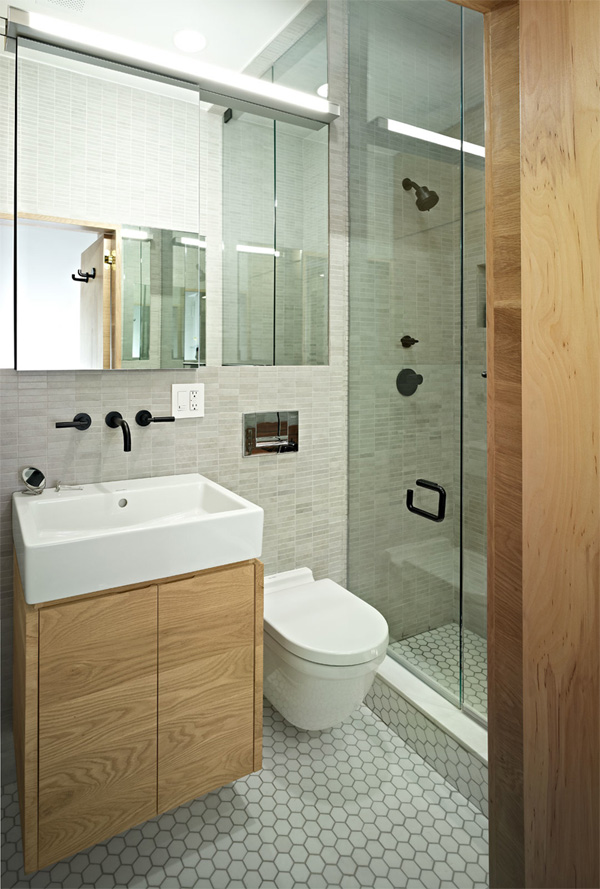
6. Keep bathroom walls & all tile the same color, avoiding big color changes that shrink a space
– Choose one accent piece like a contrasting vanity or countertop.
– Run floor tile into the shower floor. (If you can eliminate the curb even better!)
– Add a BIG vanity mirror
– Use a wall faucet to save countertop space
DECORATING
7. Repeat a Simple Decorating Palette
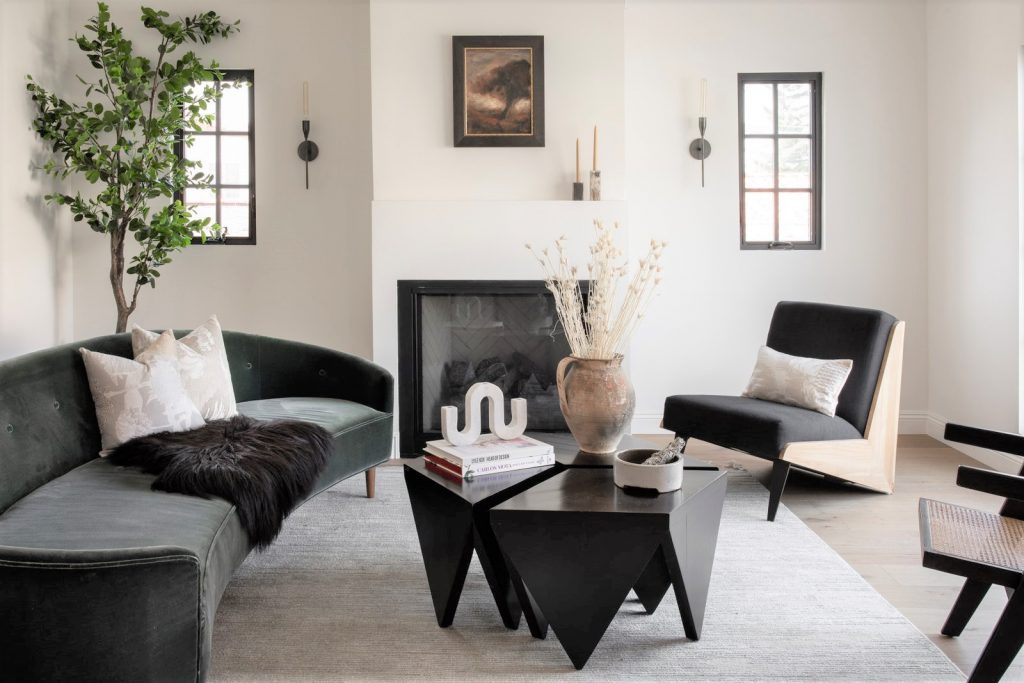
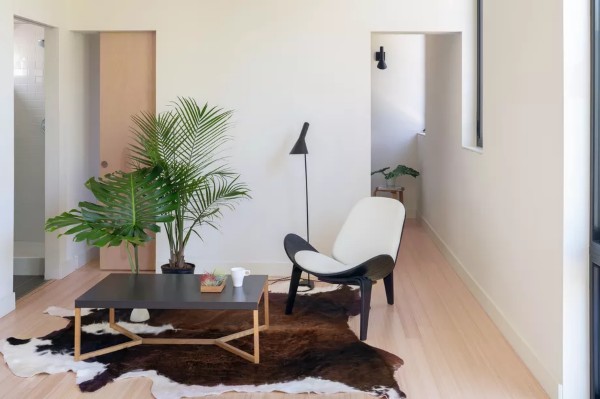
– Use the same color palette throughout so one space flows into the next, visually borrowing space from each other. (This above dwelling is in all neutrals but you can do the same thing with colors.)
– Accent with textures, patterns, and plants
8. Furniture Size Options
#1: Scaled-Down but More Pieces
– Slim style seating, compact lighting fixtures
– Pieces like a small sofa with a chaise at one end instead of a sectional
– Or a table for two, (with a leaf stored inside)
#2: Bigger but Fewer Pieces
– Queen bed in a tiny bedroom with small floating shelves for nightstands, a chandelier, or pendants/swing arms over the nightstands.
– One big area rug vs. several smaller ones.
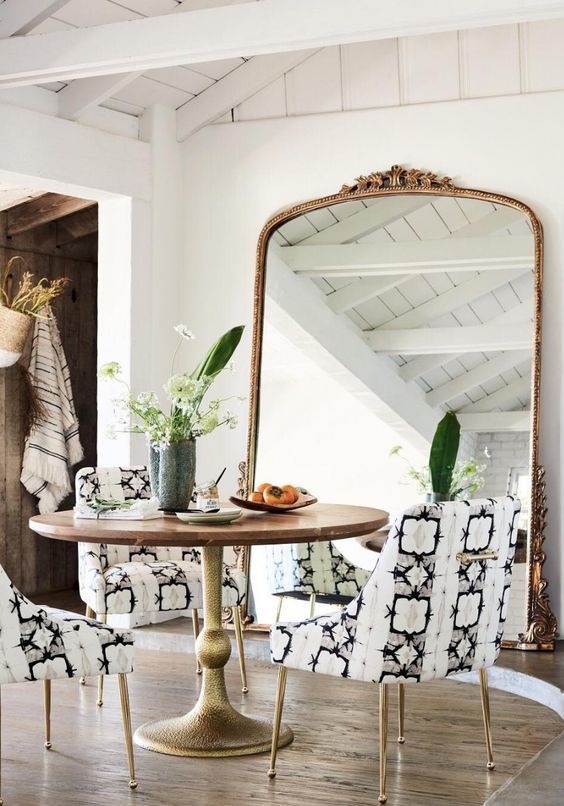
9. Add a Large Mirror
– Even though we know it is an illusion of space it still works!
– Be mindful of its reflection, (seeing an art piece twice is wonderful; a view of a bathroom or office area, not so much.)
10. Chose Pieces that Show Floorspace
– The more floor space that can be seen the bigger a space will feel
– Use upholstered seating with legs, glass top tables, clear Lucite pieces
11. Use Versatile Pieces
– An ottoman can be a footrest, seat or coffee table & easily tucked when not in use
– Pieces that roll, fold or stack can be tucked way too creating more floor space
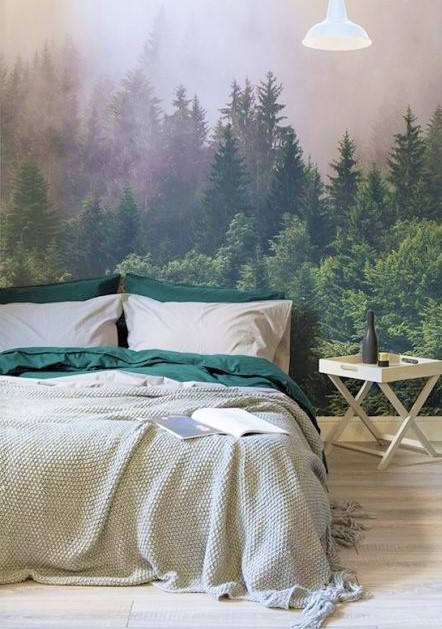
12. Add a Scenic Wall Mural, or Oversized Art or Photo
– They can create added depth, even a view
– Any of these will make a statement, add personality and mood to your space
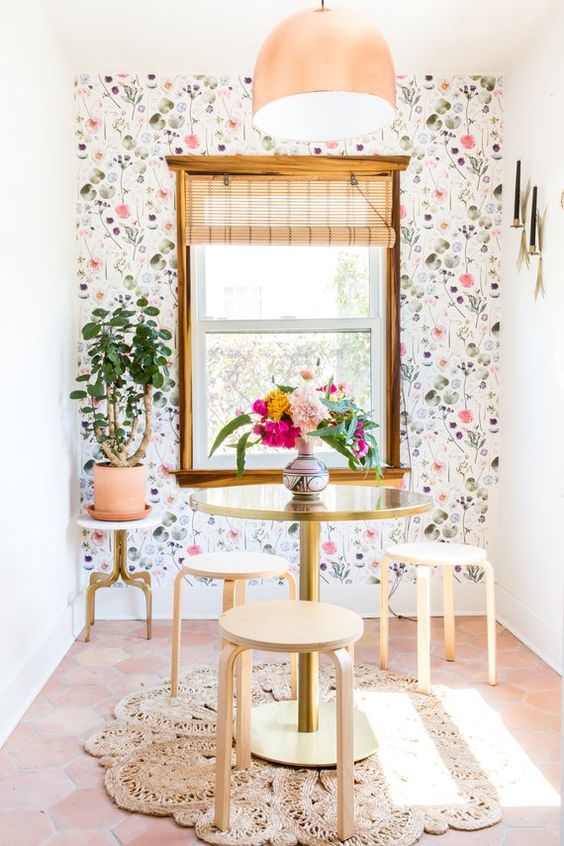
BONUS TIP! Personality Over Spaciousness
In the end, you have to do what makes you happy. So if you know how to bend the rules (in a good way like this tiny space) it can still work!
Need Help Making Your ADU a Total Gem?
(We're here to help, it's what we do)
3 Ways to Get Design & Decorating Solutions
DIY CONSULTATION /1 .5 hr. In-Home / 1 hr. Virtual
Actionable Ideas
DESIGNER ON CALL / Purchase Design Time Blocks
On-going support “as needed”
In-Home or Virtual
Actionable ideas
Sourcing Fixtures & Finishes
Paint Palettes
DONE FOR YOU ROOM / Decor Curated & Arranged
In-home or Virtual
Consultation (1 hr In-home, 1/2 hr Virtual)
Mood Board
Shopping Links
Paint Palette
2D Interactive Furniture Floor Plan
3D Interactive Room
Room Styling (In-home only)
FOR YOUR “A.D.U.” DESIGN & DECORATING SOLUTIONS:
Call us at 425-977-5599
or Connect Online
“Well worth it – I couldn’t have ever come up with… your great design.” -B. Ruzerick

